 Someone
asked me what was the easiest way to find the exact center in an image. This post
is on how I do it, and it’s as simple as tapping one key on my keyboard. Here’s
a quick tutorial to help you create an action that’ll help you find the exact
center of an image by pressing one key.This is one of those actions that I use
all the time. I hope you enjoy it.
Someone
asked me what was the easiest way to find the exact center in an image. This post
is on how I do it, and it’s as simple as tapping one key on my keyboard. Here’s
a quick tutorial to help you create an action that’ll help you find the exact
center of an image by pressing one key.This is one of those actions that I use
all the time. I hope you enjoy it.
The
first thing to do is open a photo of something where you’d like to find the
center. It doesn’t matter if it’s in portrait
or landscape mode (horizontal or vertical), this action can be used on either. This
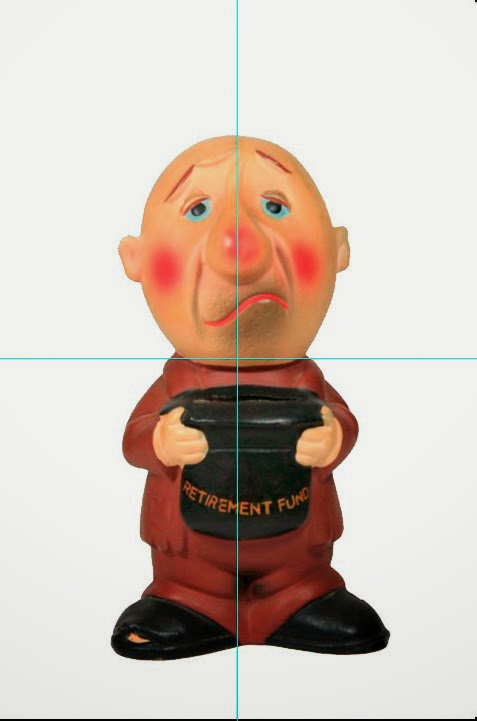
comes in handy especially when I’m doing product shots and I need to get
something aligned correctly. If you’ll notice this image is perfectly lit, but
I need my little guy centered a little better. First I selected my guy and put
him on his own layer. I then added a layer below filled with white. There are
tons of ways to do this in Photoshop, choose your own method. Now by using
Center Guides, it’s easy to line him up.
Before
we start creating our action, we need to turn on the rulers in Photoshop. You
can do this by holding the Control key and tapping the letter R. (Ctrl + R) When the rulers pop up, Right
click anywhere directly on the rulers and in the drop down menu, click Percent.
This is very important to make our
action run correctly.
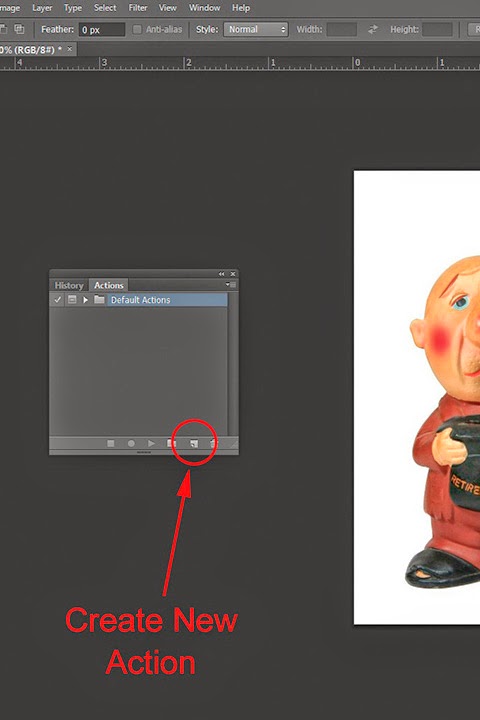 Now
click on Windows and in the drop down menu, click on Actions. At the bottom of
that panel, click the button next to the Trash can and a New Action dialog box
will open.
(see photo on right)
I’m just adding this one to my Default actions for this tutorial,
but you can put yours wherever you’d like. In the Name box we’ll call this Center
Guides. Below that you’ll notice you have the option of adding a function key,
personally I use F4. Change yours to whatever you’d like, but make sure you uncheck
the Shift and Control boxes. This way we only need one key to run our action, in this
case, the F4 key. On your system the F4 key might be assigned to something else,
if so pick something else. When you’ve set those, click on the Record button.
From here on, every step we take will be recorded in our new Action.
Notice the
button turns red to indicate its running.
Now
click on Windows and in the drop down menu, click on Actions. At the bottom of
that panel, click the button next to the Trash can and a New Action dialog box
will open.
(see photo on right)
I’m just adding this one to my Default actions for this tutorial,
but you can put yours wherever you’d like. In the Name box we’ll call this Center
Guides. Below that you’ll notice you have the option of adding a function key,
personally I use F4. Change yours to whatever you’d like, but make sure you uncheck
the Shift and Control boxes. This way we only need one key to run our action, in this
case, the F4 key. On your system the F4 key might be assigned to something else,
if so pick something else. When you’ve set those, click on the Record button.
From here on, every step we take will be recorded in our new Action.
Notice the
button turns red to indicate its running.

The
next step is to click on View and in the drop down menu choose New Guide. Another dialog box will open and under Orientation, click the Horizontal button
and in the Position change it to 50%. Then click OK. You’ll notice a new guide appeared
on our image at the half-way point.
Now click on View again and choose New
Guide again. This time in the dialog box, click Vertical and change the
Position to 50% again. Walla, you’ve got
the center guides in your image.
The
last step is where a lot of people mess up. In the bottom of our actions panel just
click the Stop button and you’re done. If you don’t remember to hit stop, you’ll
keep adding steps to your action. Now to test our new action, clear your
actions from your image. To clear them the easy way, hold the Control key and
tap the Colon key. You can tell I like shortcuts huh? Now, tap the F4 key (or whatever yours is set
to) and you’ve got center guides, Nice huh?
Remember,
as always, keep shooting and have some fun!


