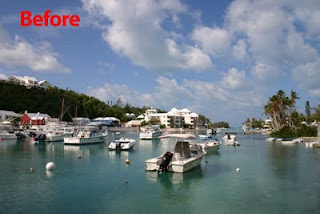
 Have you ever had a photo of a nice sunset or a landscape
with some clouds in it, but when you open the photo up, you wish the
clouds had a little more punch to them?
 I have a technique I use on almost all of my photos with clouds in them to add some extra punch. It’s a pretty quick process and the results make a nice improvement almost every time.
The beauty of this technique is, all this is done on its own layer so if want to reduce the effects, you can just lower the opacity and if you still don’t like the effect, you can trash the layer. Either way, its just a few mouse clicks to adjust or correct your photo.
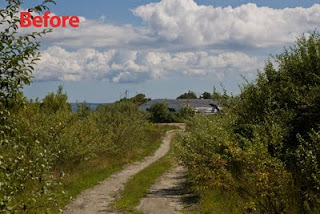
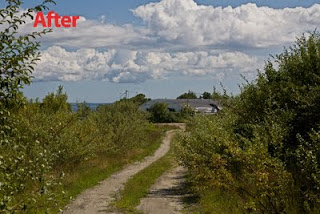 Grab one of your photos with a few clouds in it and follow along.
1. Whenever I work on a photo I always start by making a copy of my background layer (just in case) so click Cmd or Ctrl + J.
2. Now go up to the filter menu, click on it and scroll down to Other, then click on High Pass.
3. When the High Pass dialog box comes up, slide the slider until your clouds look really sharpened with lots of definition in your clouds. You don’t want to go overboard because it will make your photo look really funky. Every photo will be different so feel free to play around with your settings. When you’re done tweaking it, click OK.
4. Now I desaturate my new layer, just hold down Cmd + U or Ctrl + U to bring up your Hue and Saturation dialog box, and then drag your saturation slider all the way to the left to remove all the saturation.
5. Now go up to the top of your layers panel and change the blend mode of our High Pass layer to either Overlay or Hard Light, I usually prefer Hard Light myself.
Now depending on the photo you use, you might have to make some other minor adjustments to parts of your photo to either hide the sharpening effects or paint in the effects. This is actually quite easy to do using a layer mask and a nice soft brush.

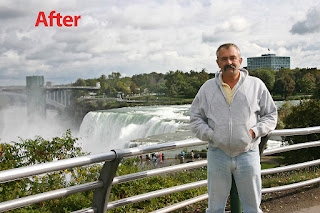
Most of the time it’s easier to use a black mask and ‘conceal’ all the sharpening, then I use a white brush to paint in the sharpening on just my clouds. To get a black mask, hold the Alt key down before you hit the mask button on the bottom of the layers panel. (the mask button is the third one in from the left side of the panel) Make sure your painting on the mask by clicking on the mask box. Remember, if your effects are still a little too strong for your taste, just lower opacity to your own liking. In this image, I painted in the effects with a nice soft white brush. I use a Wacom tablet so I can paint with various degrees of pressure, but you can do this with a mouse too.
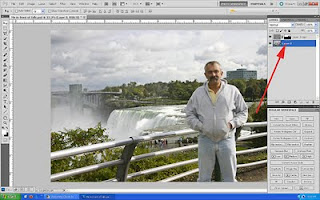 When I get it where it looks good to me, I tap on the top layer to make it active and then hold down the Ctrl + Shft + Alt keys and tap the letter E to make a flattened copy of all my layers right on top of my layers stack. Then I hit Ctrl + A to select it, (you’ll see the marching ants around it) then hit Ctrl + C to make a copy of that layer.
Now go over to the File menu, and click New. This will open a new blank document that will be the same size automatically. Now just hold the Ctrl key and tap V to paste your copied image into your new document and you’ll see a new single layered file, then just save your new image as you like. Now you can either save the original file with your changes or just close it out.
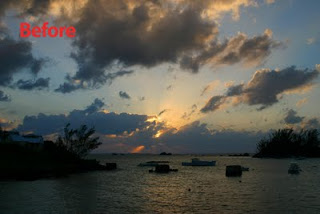
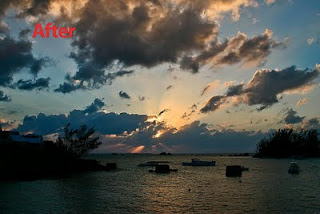 Now that you know this little technique you can use it
to add a little punch to your clouds in own photos. Don’t be scared to
try this with other photos also. It works great on images when you want
to selectively sharpen only specific areas in your photos or to add some
extra drama to your images. Try it yourself on a few images, the
results might amaze you!
Remember, as always, keep shooting and have some fun!


